How to add Email Signature in Android?
Today most of the people are using the Android operating system for their phones. Not only that today a lot of people are using the email services also. And today email plays an important role in every business sector. Moreover, today if you are using email service then you can easily get connected with the people around you and also share the information. We also provide 30 emails in one single WordPress hosting account. So today if you are using the email services on your android phone and now if you are looking for information on how to add an email signature then here is the complete information on it.
Steps to add an email signature in Android:
Step 1: In the first step you need to open an email account in the android phone.
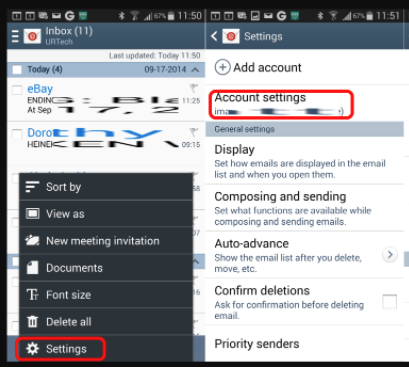
Step 2: In the second step you need to click on the Menu button. This button will appear to the left of the physical HOME bar button. Now in there click on the Menu button (hidden button to the left of the physical HOME bar below the screen)
Step 3: Now you will be able to see an option Settings. You need to click on the settings tab.
Step 4: Once the settings tab is clicked. You will be able to see the Account name. You need to click on your Account name.
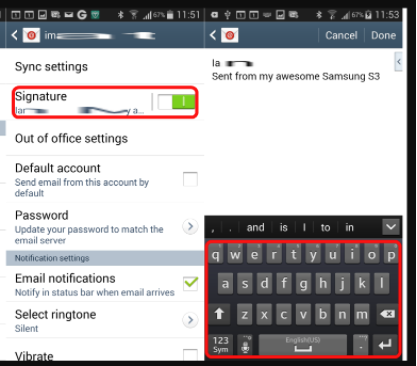
Step5: Once you have clicked on the account name there you will see an option. There you will find "Mobile Signature" option. You need to click on Signature.
Step6: There you will be able to see the space to type the Signature. Start typing!
Step7: In the last step click on Ok
By following the above steps you will be able to add the signature in android.