How to add an Email Signature on an iPhone?
Nowadays, email services are common among all people. In each and every business sectors email service is playing a vital role and it is one of the important models of communication. With the help of your iCloud Mail account, you will be able to send and receive emails. We provide around 30 emails in one single WordPress hosting account. So today, if you want to send an email through your iPhone and in that email if you want to add a signature of your business to be a professional person then here, is the complete information on it.
Follow the below steps to add an email Signature in iPhone:
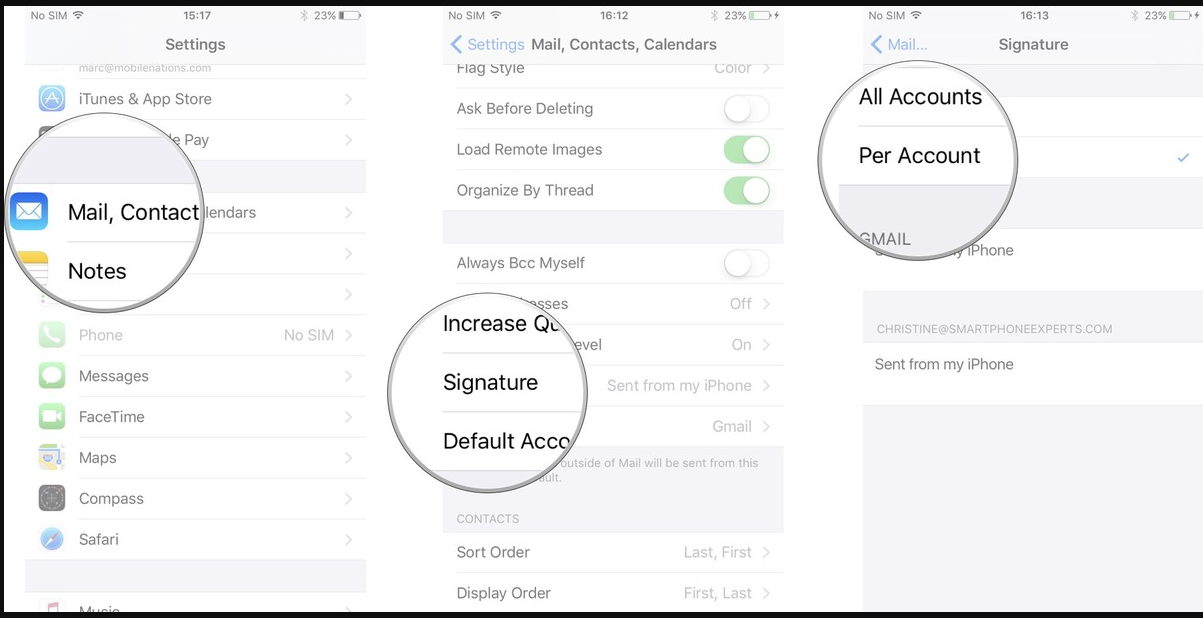
Step - 1: First, you need to go to the launch setting from your home screen/span>
Step - 2: Now from there, you need to click on the Mail, Contacts, Calendars option
Step - 3: Next, you will see a Signature option under the mail section click on it
Step - 4: Now click on the Per Account option
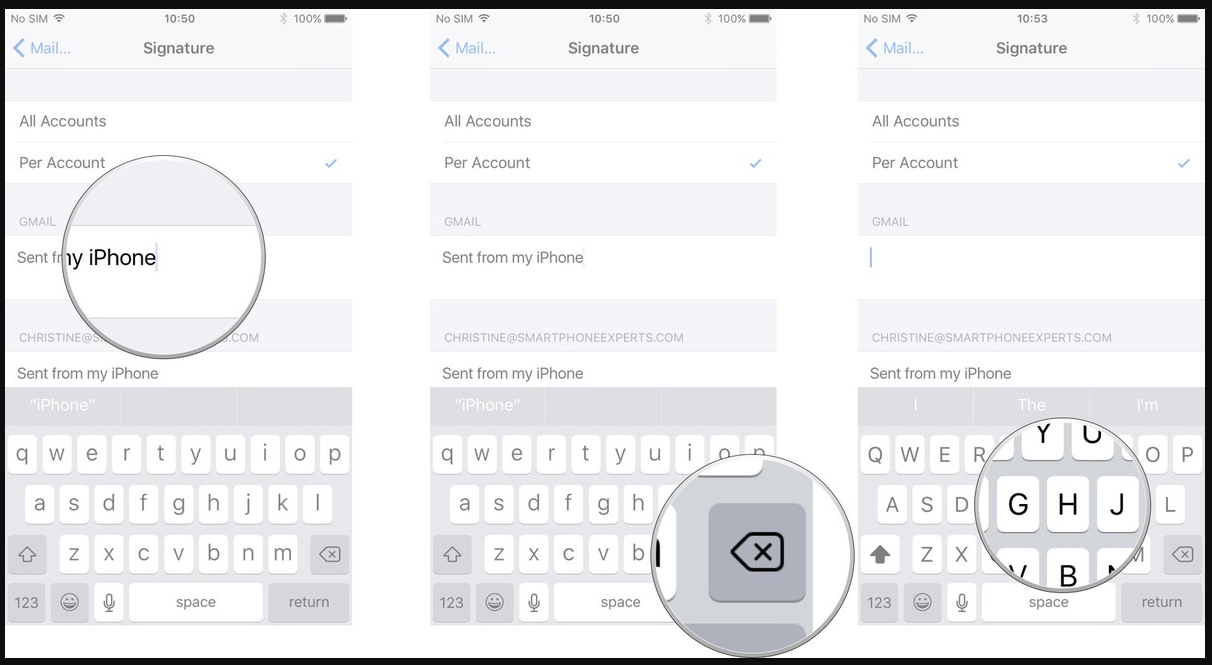
Step - 5: Next, you need to click the end of the existing signature option
Step - 6: Next tap on the delete button to remove/delete the current text
Step - 7: Now type in your new signature
Step - 8: Once one with the typing click on mail option
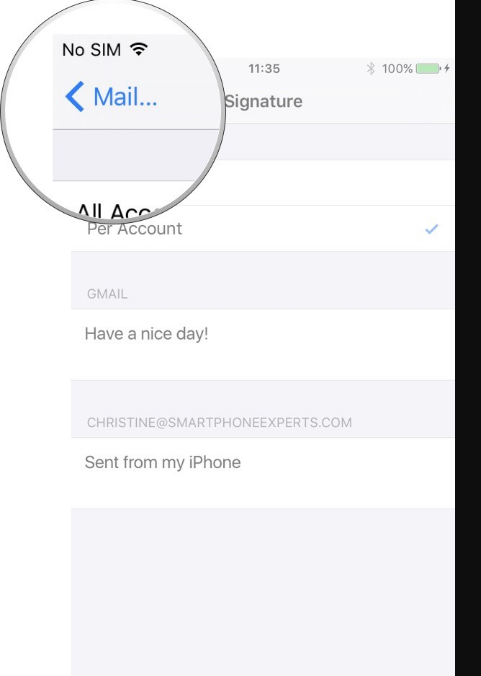
Step - 9: Now your new signature will automatically save and appear at the bottom of all outgoing emails.
With the help of the above steps, you will be able to add email signatures to your iPhone very easily. For any other information check our help.