How to publish a site using Adobe Muse
Adobe Muse is one the top best CMS where one can easily build a website as per their needs. And Muse allows designers who have no interest in working with HTML or CSS code to create interactive fully functioning websites. If you are using Adobe Muse then you might forget thinking that you were looking at InDesign when you first see that Adobe Muse workspace. Because Adobe's aim was to create a tool aimed at designers and it shows - there is no code view! And in Adobe Muse you have the ability to create a new site or open an existing site. One more thing that Adobe has created is that it hides all the files from the designers.
So what do you get from Adobe Muse when you decide to create a new site is something aking to the new document options when working with a print document. And once when you get started with that and choosing the appropriate site layout option Muse then places the designer in "Plan view". In plan view it provides designers with a visual layout of the structure of the website and then allows them to add and build page templates called Master pages. These master pages will correspond with the Master pages of InDesign and most of the initial site design is done via these master page templates.
Adobes Muse's Design view provides the tools to design and populate the Master pages and eventually the content pages that make up the site. You also get Design elements where it can even sit under or over one another. Not only that even elements can be cropped, rotated and have filters applied to them as if they were standard layers in any print design package.
So today if you are planning to use Adobe Muse with your solution then here at HostingRaja all our servers do support it. Using Adobe Muse you can easily publish your website as per your requirements and thus you can create a unique and beautiful website for your business.
1. From the File menu, select Upload to FTP Host.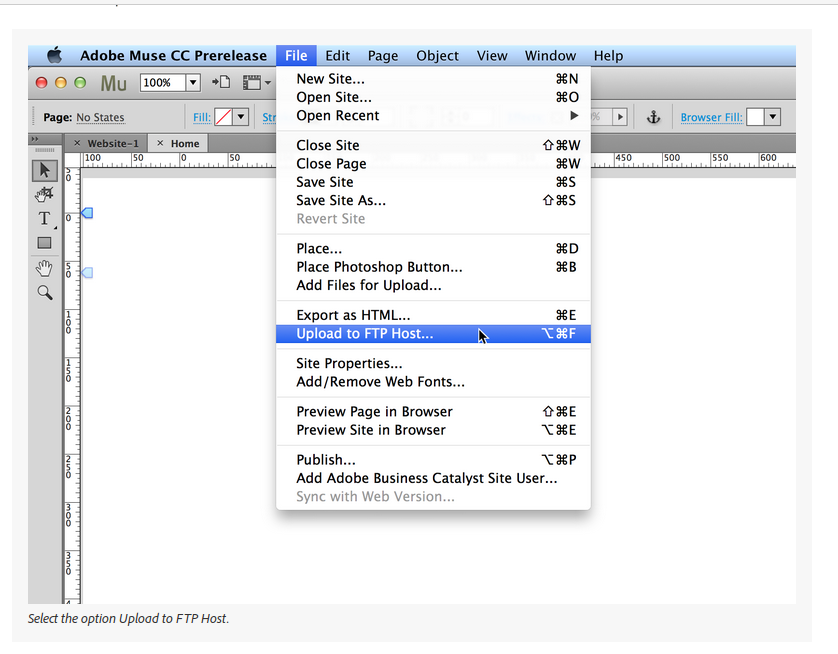
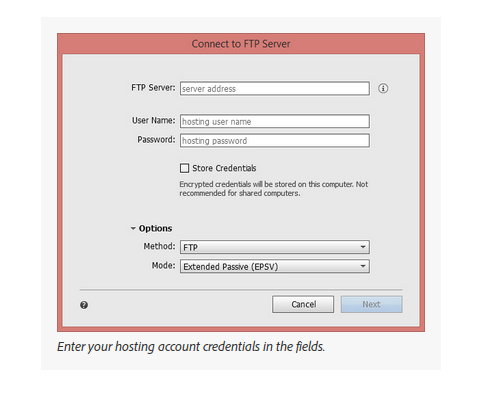
1) Enter the following information in the provided fields and click Next.
FTP Server
as sent by the web hosting provider. The FTP Server can either be a domain name (eg. google.com), or an IP address
User Name and Password
for your hosting account. The username and password is specific for the FTP you specified in the FTP Server field.
Store Credentials
allows you to store your FTP login information securely, and you are automatically connected to the FTP server in future upload sessions.
On the Upload to FTP Host dialog box, enter the following details:
Site URL: The URL of your site. That is, the address typed in a browser to navigate to your site’s home page (e.g., www.yourdomainname.com).
Folder on Server: The web directory as provided by the hosting provider. The Folder Name or path depends on the hosting provider. Generally, most platforms use the Folder public_html. However, the Folder depends on the root or the subfolder path of your server.
Upload: A dropdown that allows you to choose whether to upload all pages of your website or only modified once. You must select Upload All pages when you upload your files for the first time.
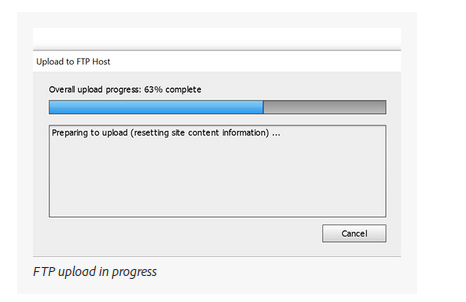
Click OK to begin uploading your website to the third-party hosting service provider.
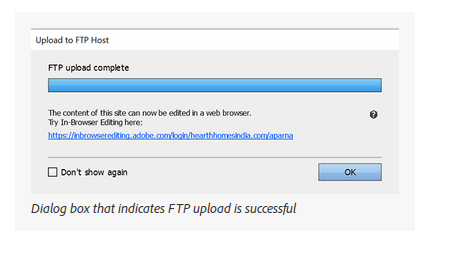
You will immediately see the progress of the upload.
After the successful upload you will get the below message.