How to configure e-mail authentication in cPanel
This article describes how to set up e-mail authentication in cPanel to help reduce unwanted e-mail (spam). E-mail authentication in cPanel is based upon two complementary technologies, DKIM and SPF, that help reduce the amount of spam.
For Email Authentication or Email Deliverability validation in Cpanel:
STEP1: Login to your Cpanel.
STEP2: Click the Email Authentication or Email Deliverability option from your Cpanel
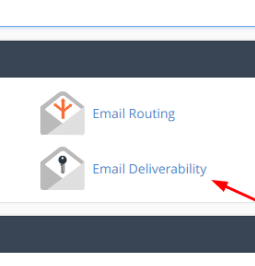
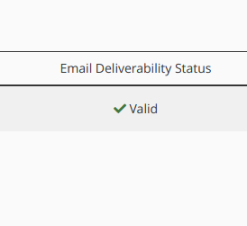
STEP3: Check the Email Deliverability status is valid or showing error.
DOMAIN KEYS IDENTIFIED MAIL (DKIM)
You can use DKIM to verify that an incoming e-mail message is actually from the stated sender and that the message has not been altered during transit. When DKIM is enabled, the sender digitally signs a message using a private key. The recipient uses DNS to retrieve the sender's public key and verify the message's signature. If the signature is invalid, then the message is assumed to be forged and therefore spam.
SENDER POLICY FRAMEWORK (SPF)
SPF helps prevent spammers from forging messages that implicate your domain as the sender. As a result, SPF can also reduce the number of bounce messages that you receive (also known as backscatter spam). SPF uses DNS records that specify the mail servers and IP addresses that are authorized to send e-mail messages from a domain.
Enabling SPF
To enable SPF, follow these steps:
-
In the Mail section of the cPanel home screen, click Email Authentication.
-
Under SPF, click Enable.
-
If you have a shared hosting plans or reseller hosting account, confirm that the raw SPF record includes one of the following configuration lines after you enable SPF:
-
If one of these configuration lines is not in the raw SPF record, follow these steps:
-
Under Advanced Settings, in the Include List (INCLUDE) row, click Add.
-
In the Enter a new item text box, type one of the following lines
-
Click OK.
-
Under Save Your Changes, click Update.
Changing SPF advanced settings
After you have enabled SPF, you can modify its configuration. You can add additional IP addresses or mail servers that are authorized to send e-mail for your domain. For example, you may want to do this if you use a third-party mail server.
Make sure that you include in the ticket the exact lines that you want to add to the zone file.
To change SPF advanced settings, follow these steps:
-
In the Mail section of the cPanel home screen, click Email Authentication.
-
To add additional hosts, servers, IP blocks, or include lists to your SPF configuration, click Add in the corresponding section. Alternatively, to remove hosts, servers, IP blocks, or include lists from your SPF configuration, click Remove in the corresponding section.
-
To exclude all other domains that are not specifically defined in your configuration, select the All Entry (ALL) check box.
-
To overwrite all existing SPF records, select the Overwrite Existing Entries check box.
-
Click Update.
Reverse DNS (PTR)
For Reverse DNS from your Cpanel, There is no Option its available from the Cpanel. Raise ticket to us using https://support.hostingraja.in/ We will set the reverse DNS for your account.