How to access the SSH in shared Linux?
What Is SSH?
Secure Shell which is commonly known as SSH, it is a protocol that is used to login to the server in a secure way and it is most commonly used by Linux based servers
SSH can be used in Linux and Windows OS based hosting using the software tools. For Linux, you can use your terminal to connect to the server while for windows you can use PUTTY or KITTY software to connect to the server.
The SSH is an essential tool to be master as a system administrator.
Note:
In shared hosting, you will be having a restriction for all your access. Hosting providers will set a limit and restriction as per their plans or their terms. And also in few lower shared hosting plans you will not get SSH access.
What are the advantages of using SSH for managing the website
- SSH is a more secure network connection when compared to FTP.
- Cache Clearing in the server can be done easily through ssh in seconds when compared to FTP Login Or Panel Login.
- Very quick in Live Editing and saving the files, though no need of downloading to the Local system.
- Installing and Managing applications via command line.
Why do need SSH to maintain a server
- Services LIKE mysql, Apache, Java etc. can be started Or stopped easily from the server end using SSH.
- The firewall can be controlled over ssh. For example, need to Block or unblock the IPS, we can use SSH.
- Solving the issues by Checking the Logs in the server end.
- Which service take more load in the server can be able to Monitor Over SSH.
- Removing the files from the server is very quick over ssh compared to FTP and other protocols.
How to access the SSH in shared hosting?
For SSH access in shared Linux hosting, you have to make sure that your hosting the provider has to enable the SSH Access for your account. If it's already been enabled, you can use the below steps to connect the SSH using the Putty.
In Windows, to access SSH you need will need putty software to be installed in your local.
Now you need to generate a PPK key through your Cpanel.
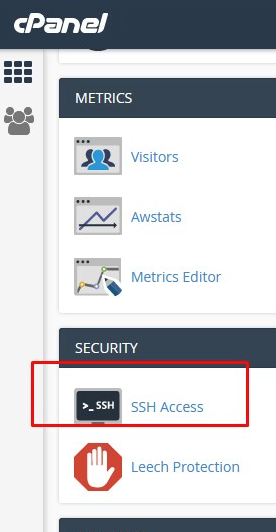
Step 1 ~ Login to cpanel >> click on the SSH.
Step 2: After you Click on SSH Access >> Under the Manage SSH Keys click on Generate a new Key
Step 3: After click on generate a new key >> you need to enter the password >> click on generate a key. Save the password (make sure you remember the password)
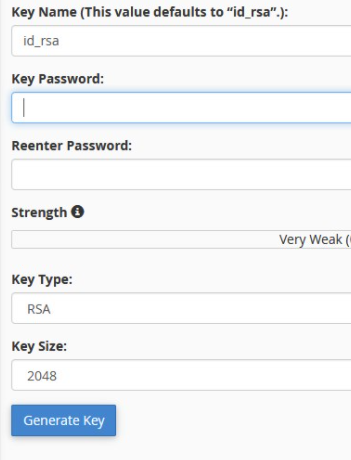
Step 3 ~ Now you need to enter password and generate a key and save the password in any notepad.
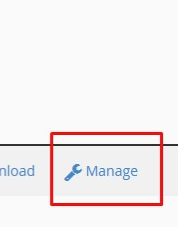
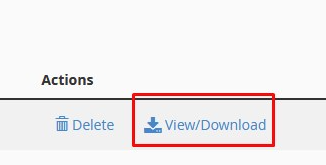
Step 4 ~ once key generated click on GO Back and you can see the Key generated, click on manage as mentioned in below screen.
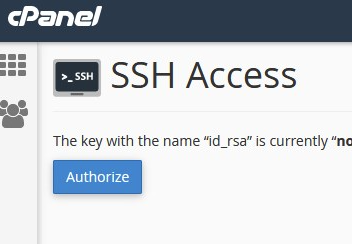
Step 6: Click on Authorise -You need to Authorise the key which you have generated.
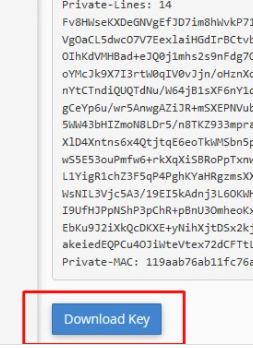
Step 7 ~ Now you need to download the Private key.
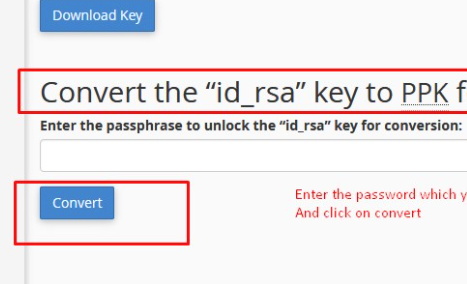
Step 8 ~ Enter the password which you have created at the time of generating the key and click on convert.
Step 9 ~ Now you can download the file in local and save it.
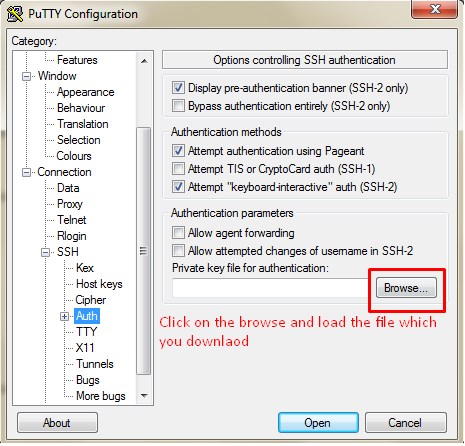
Step 10: Open Putty enter the Server IP and add the RSA key in the putty as mentioned in the screen.(category >> SSH >> auth)
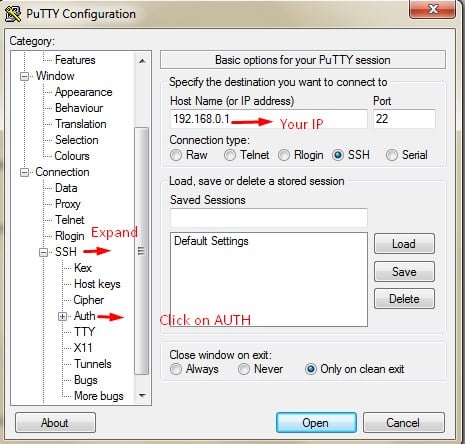
Step 11: After You upload the file which you have downloaded >> click on open now enter the Your server IP and port 22 and select the SSH and click on open to connect to SSH
Following the above steps you can connect to SSH.
Login Issues in SSH
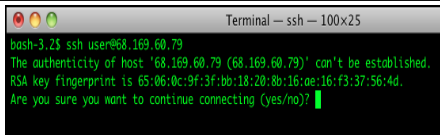
When a domain name is moved from one server to another then an issue with the SSH logins might creep up. Most of the warning dialog which most of the SSH programs gives looks something like as shown below:
WARNING: REMOTE HOST IDENTIFICATION HAS CHANGED
IT IS POSSIBLE THAT SOMEONE IS DOING SOMETHING NASTY!
Someone could be eavesdropping on you right now (man-in-the-middle attack)!
It is also possible that the RSA host key has just been changed.
The fingerprint for the RSA key sent by the remote host is
06:ea:f1:f8:db:75:5c:0c:af:15:d7:99:2d:ef:08:2a.
Please contact your system administrator.
Add correct host key in /home/user/.ssh/known_hosts to get rid of this message.
Offending key in /home/user/.ssh/known_hosts:4
RSA host key for domain.com has changed and you have requested strict checking.
Host key verification failed.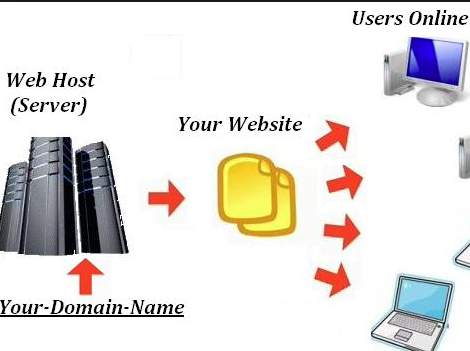
Here the SSH program will be printing this message and more often the text, it prohibits the user from connecting to the suspicious website. This problem rises when the website has changed the servers and the new servers RSA key which is being transmitted when the authentication is different from that of the old server.
In the case of a migration you will be reasonably sure that the RSA key change is not an accident but to connect to the new server one must remove the line in .ssh/known_hosts that will correspond to the domain name. This could be done by editing the ‘known_hosts’ by hand or if the machine is having the Perl installed then you can use this one-liner:
perl -p -i -e 's/^example.com.*n//;' ~/.ssh/known_hosts
Now you need to substitute the actual domain for example.com by always making sure of including the backslash before the dot. If you are having many domains that have moved you must be repeated this step for each one.
How to use SSH in Linux?
ssh This email address is being protected from spambots. You need JavaScript enabled to view it. (or) ssh This email address is being protected from spambots. You need JavaScript enabled to view it.
If you are facing any issues or If you need any assistance, feel free to contact our technical team members as they are available 24/7 via phone call, chat, ticket system.