

Welcome to Managed Hosting for WordPress powered by hostingraja.in!
You’re just a few minutes away from taking your WordPress experience to the max!Step 1: Create your first site
Creating a WordPress site takes just 60 seconds. To get started, follow these steps:- Log in to the Hosting Panel at https://clients.hostingraja.in/
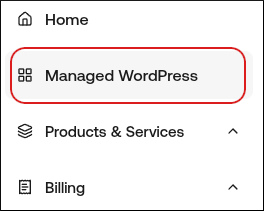
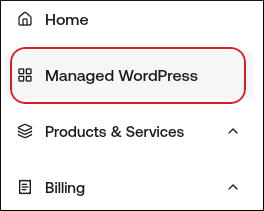
- In the left sidebar, click Managed WordPress:
- On the My Websites page, click Add Website:

- On the Add a Website page, in the Site name/label text box, type your WordPress site’s name:
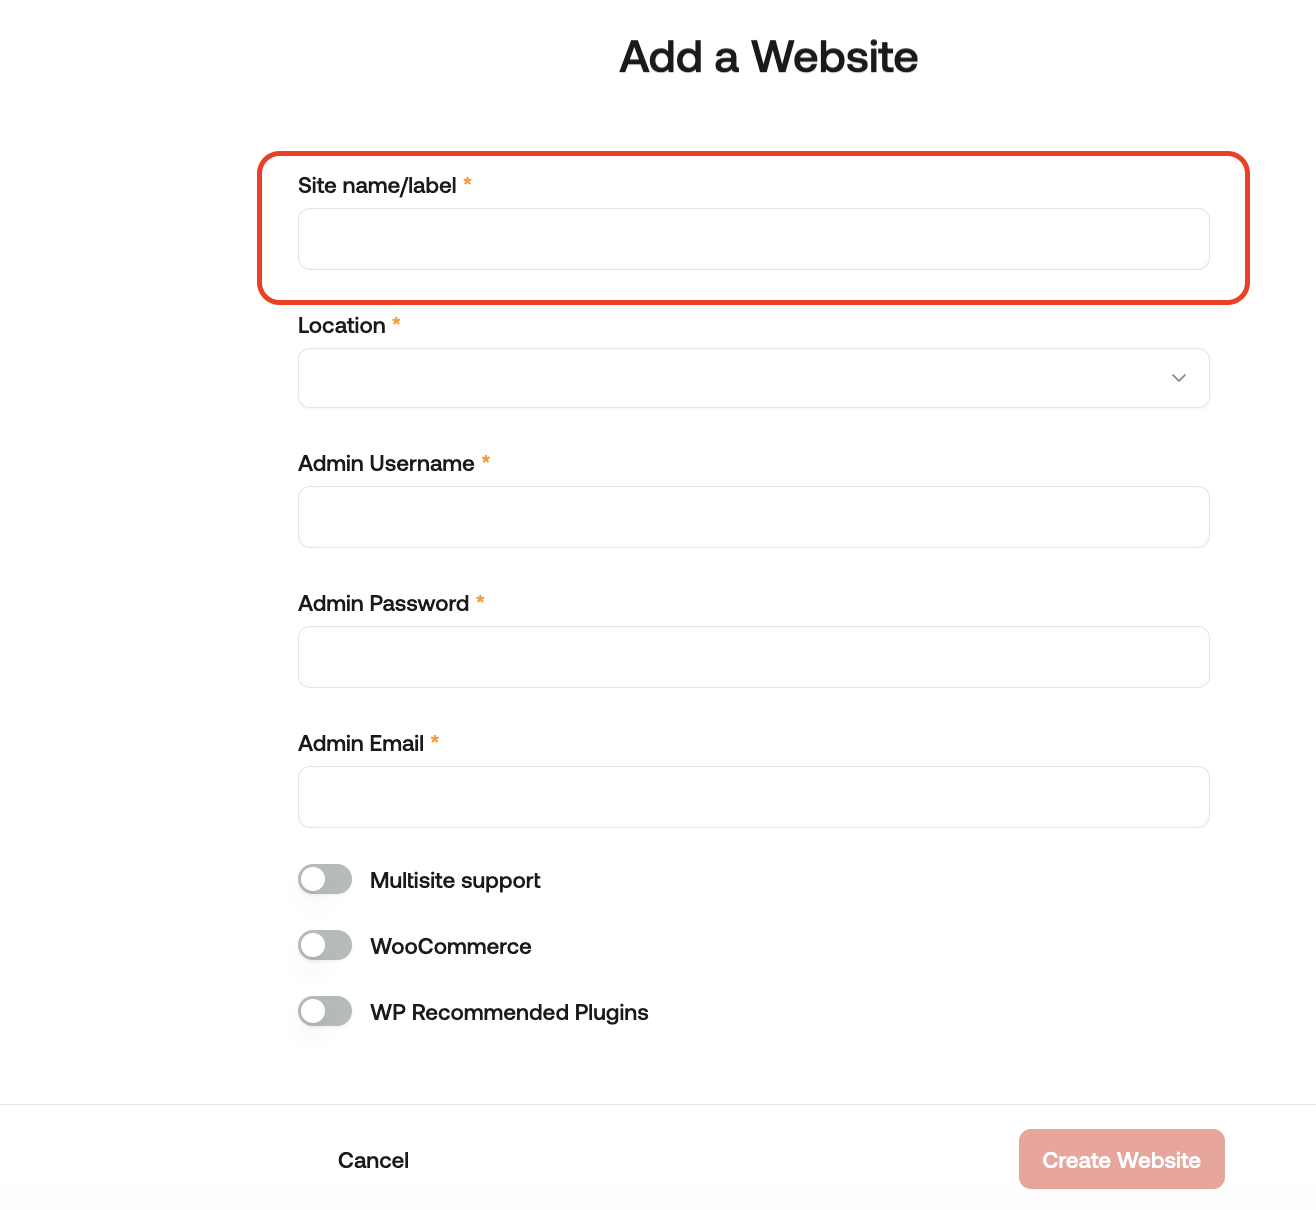
- In the Location list box, select the location for your WordPress site.
- In the Admin Username text box, type the admin username you want to use.
- In the Admin Password text box, type a complex password for the admin user.
- In the Admin Email text box, type your admin email address to receive important WordPress emails.
- Enable any additional options for your installation, and then click Create Website.
Step 2: Build or migrate your WordPress site
Now that your site is created, you can access it immediately on your site URL (eg: https://abc123.onrocket.site). You can also log in to the WordPress admin dashboard directly. To do this, follow these steps:- Log in to the Hosting Panel at https://clients.hostingraja.in/
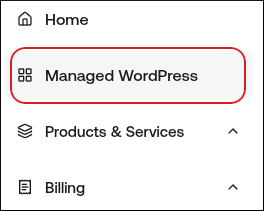
- In the left sidebar, click Managed WordPress:
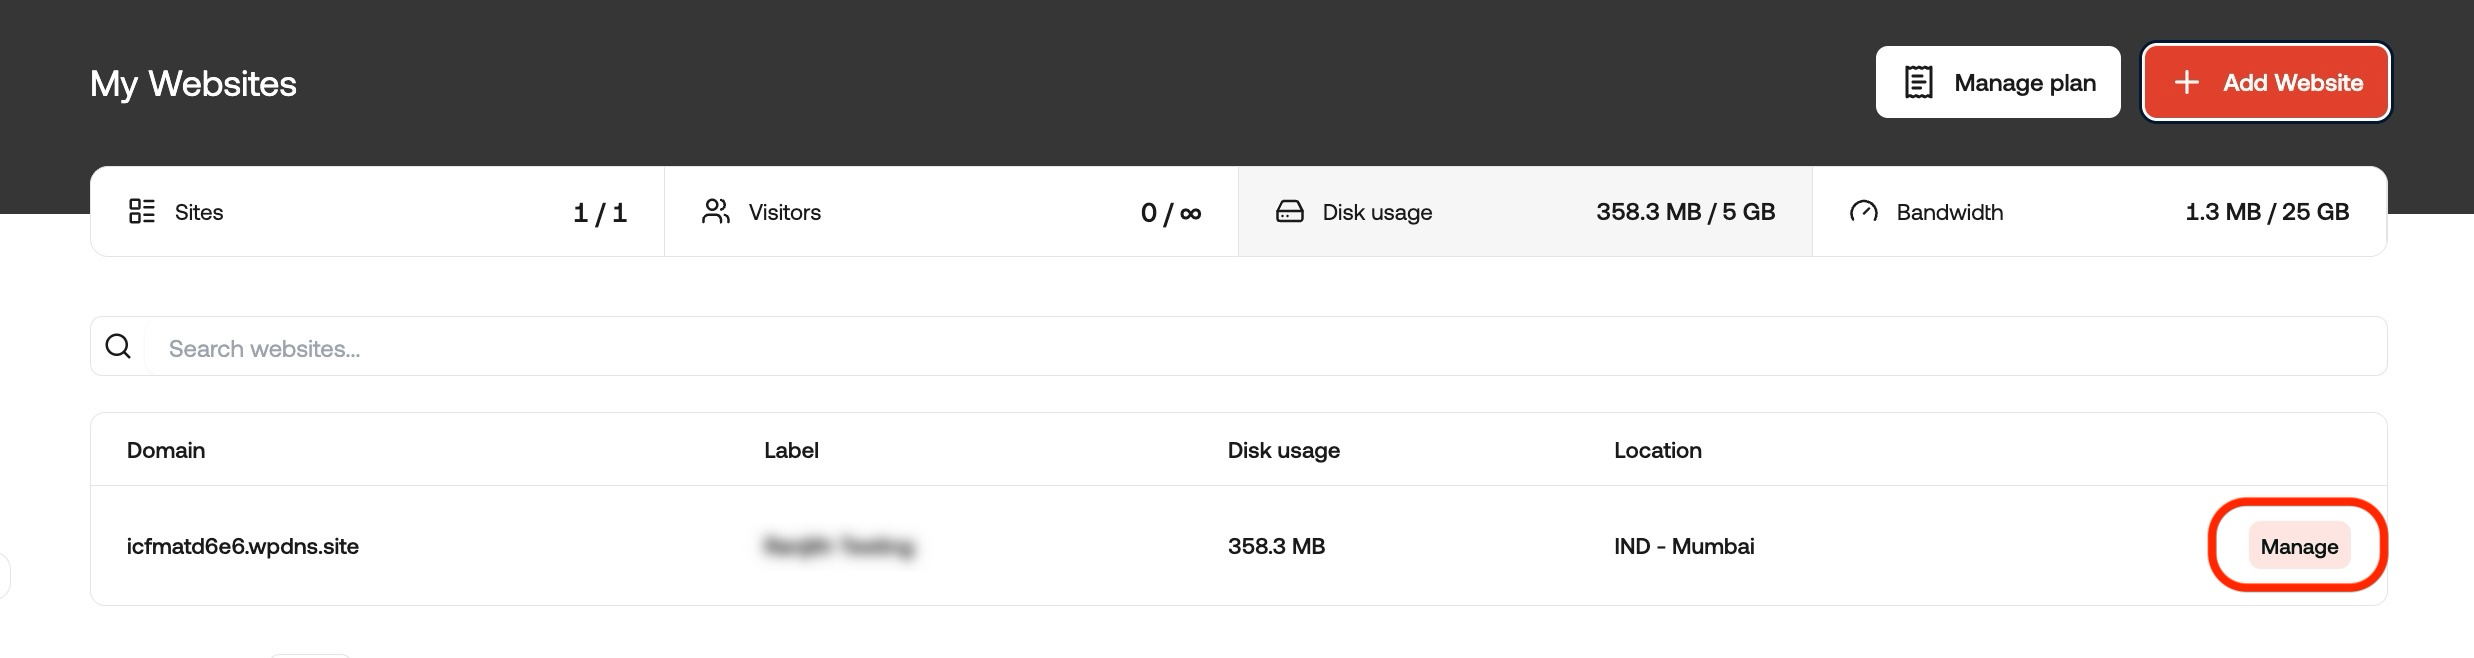
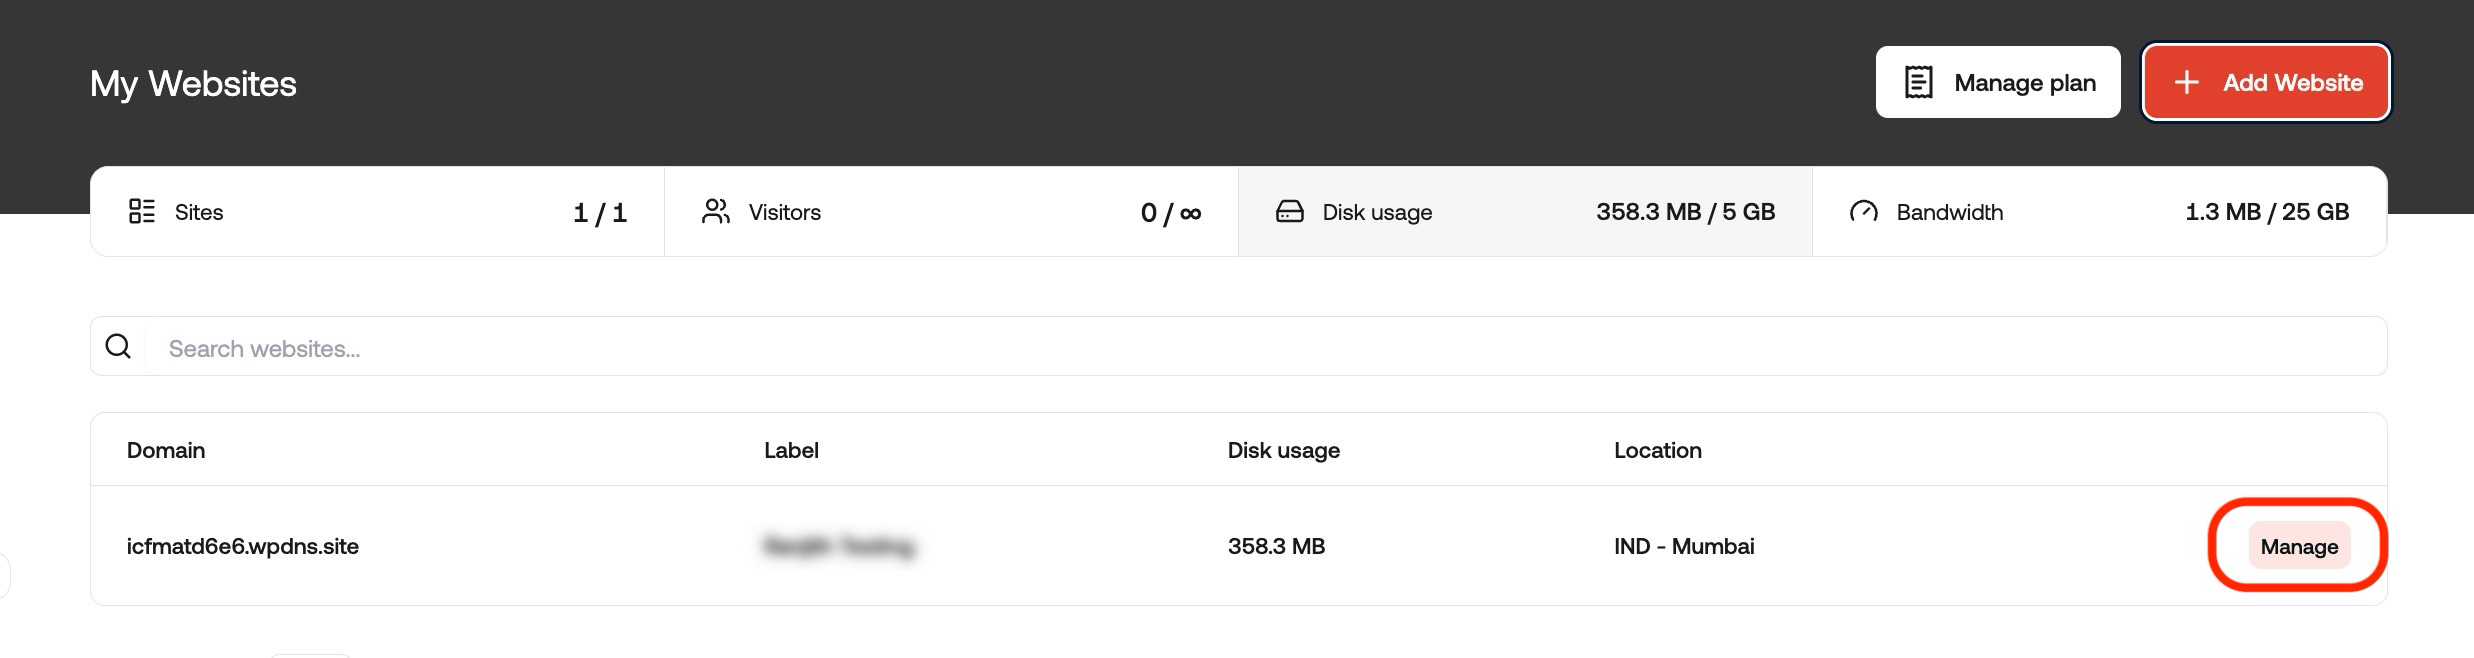
- On the My Websites page, locate the site, and then click Manage:
- At the top right of the page, click WP Admin:

Step 3: Go live!
If you’re building a new site or are ready to update your DNS on an existing site, follow these steps:- Log in to the Hosting Panel at .https://clients.hostingraja.in/
- In the left sidebar, click Managed WordPress:
- On the My Websites page, locate the site, and then click Manage:
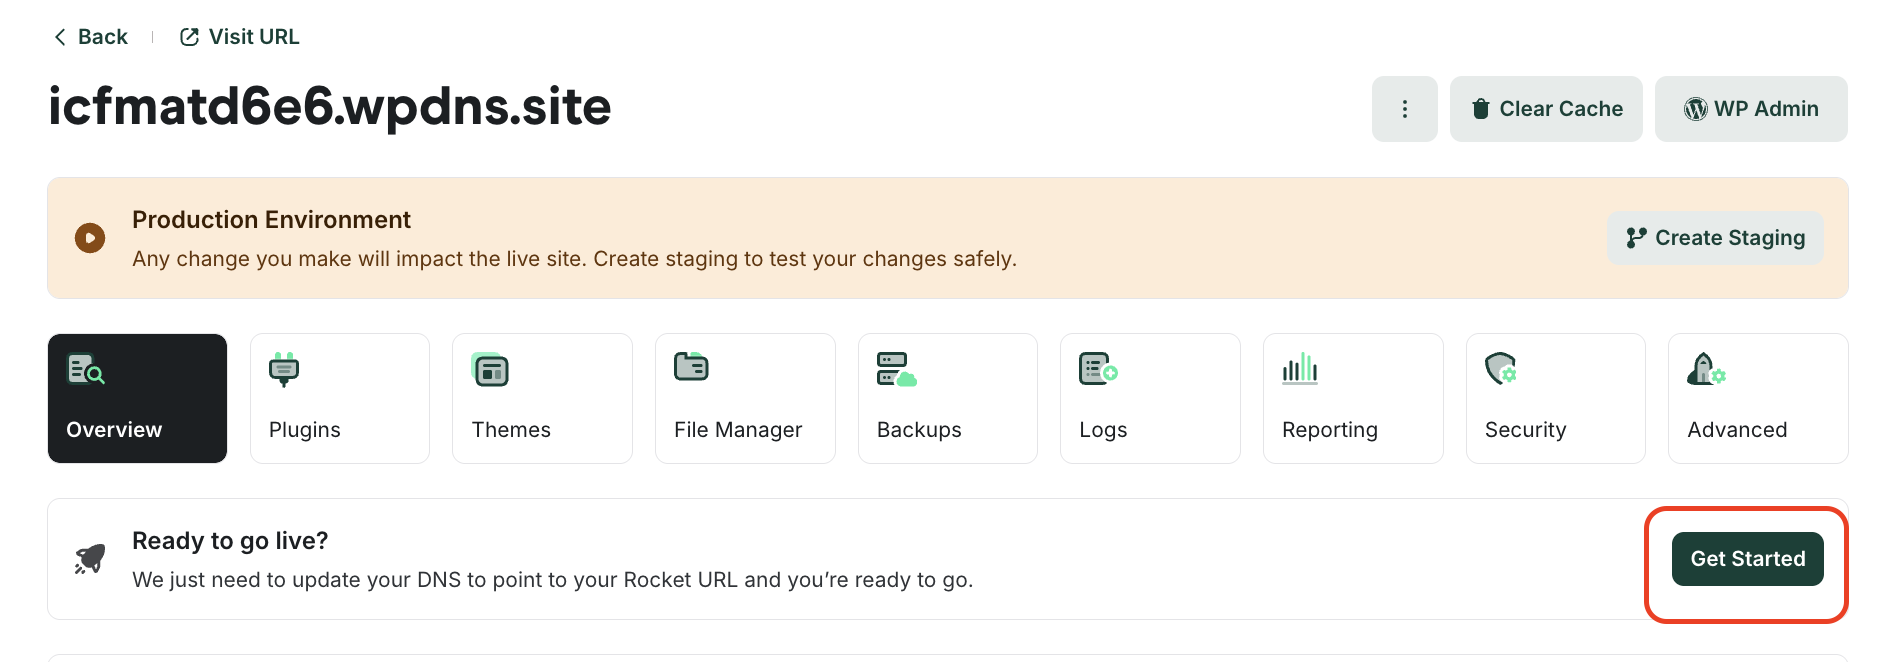
- In the Ready to go live? section, click Get Started:
- In the Change Domain Name section, type the domain you want to use with WordPress:
- If you want to use the base domain name, type example.com where example.com represents your apex domain.
- If you want to use the www subdomain, type www.example.com where example.com represents your apex domain.
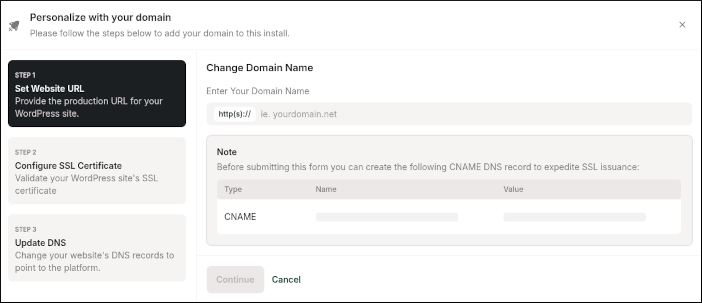
- Click Continue.
- In the Configure SSL section, copy the values for the two TXT records.
- Log in to your domain’s registrar or DNS provider, and create TXT records that contain the values you obtained in the previous step.
- Click Continue.
- In the Update DNS section, copy the values for the A and CNAME records.
You only need the CNAME value if you are configuring the www subdomain (for example, www.example.com) in addition to your primary (apex) domain (for example, example.com).
- Log in to your domain’s registrar or DNS provider, and create A and CNAME records that contain the values you obtained in the previous step.
If your DNS provider does not support CNAME records for @ records, you can use one of the following IP addresses as A records instead:104.19.154.92104.19.155.92Remember that DNS can take up to 24 hours to propagate fully, but once it does you’ll be able to take advantage of all the WordPress specific options in the hostingraja.in Dashboard such as our single click WP-Admin login.
- Click Close.